Render Flow
Introduction
For a better experience, please use Cinema 4D R26 or higher versions
Super useful tool kit to speedup your works in just one click.
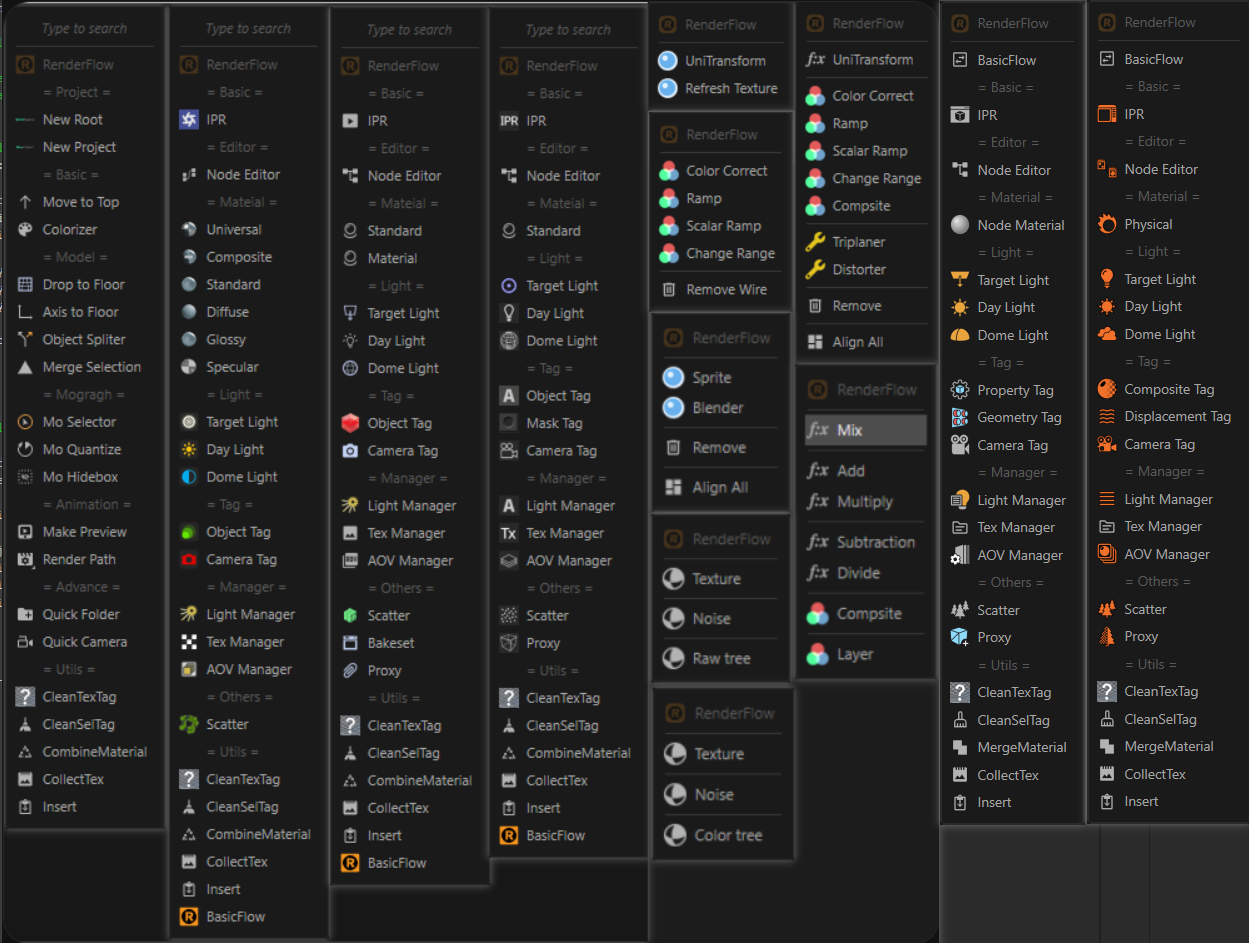
Quick Intro
Render Flow depend on document render engine, please set your renderer first.
Switch document renderer to supported renderer .
In English input mode, the shortcut key is `(the key above Tab), in unsupported renderer, it will show Basic Flow instead.
Alt `to activate Basic Flow
Ctrl ~ to active Material Flow
Don't select objects and tags in OM, Open Redshift Node Editor and select any Node/Port/Wire, ` to active Node Flow.
Use modifier keys and additional features (Alt Ctrl Shift, please refer to the documentation for details)
You can override your own favorite shortcut.
Quick Highlights
Switch the corresponding optimization function based on the current selection of rendering engine
Intelligent Material Editor: Activates the corresponding material editor based on the selected object or material
Intelligent creation of materials, lights, and labels based on selected objects
Integrated scene management tools
Node Flow : Node related functions, corresponding to selected nodes, ports, and lines
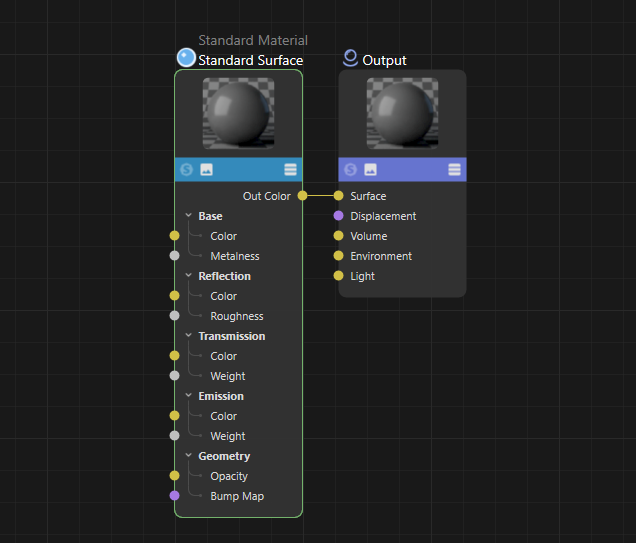
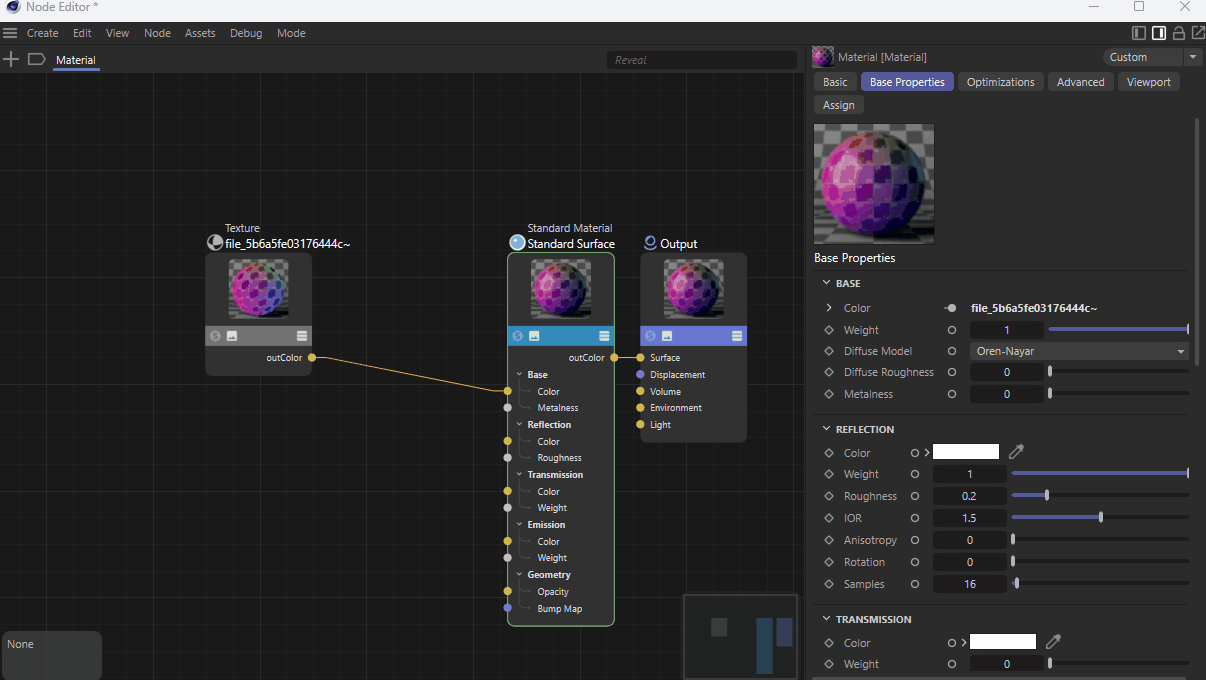
Material Flow : Base on material level, almost on Octane Material.
Renderer Support
Octane (support extra Material Flow)
Redshift (support extra Node Flow)
Arnold (support extra Node Flow)
Vrray
Corona
Detail Information
Basic Flow
Hit Alt ` to call Basic Flow ( default shortcut )
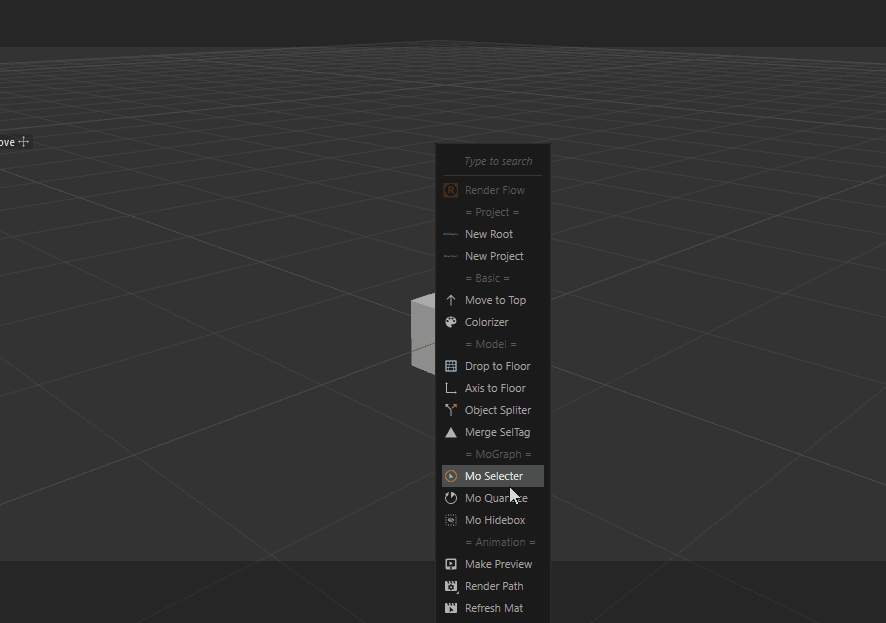
Move to Top : Move the selected object to the top of the object manager.
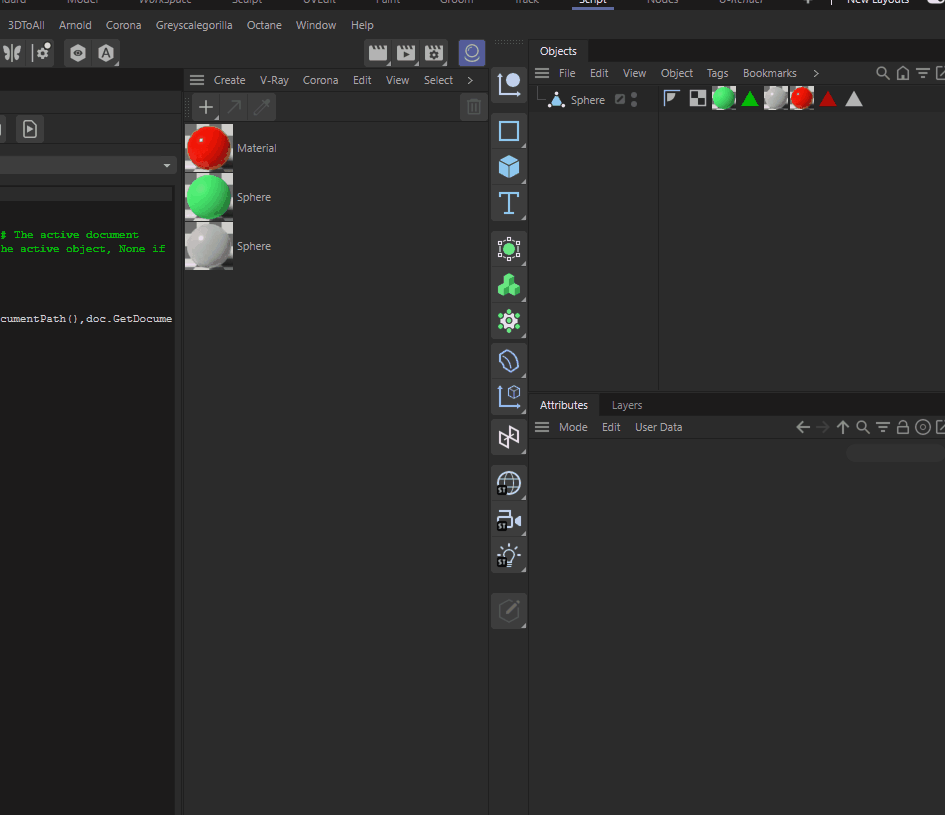
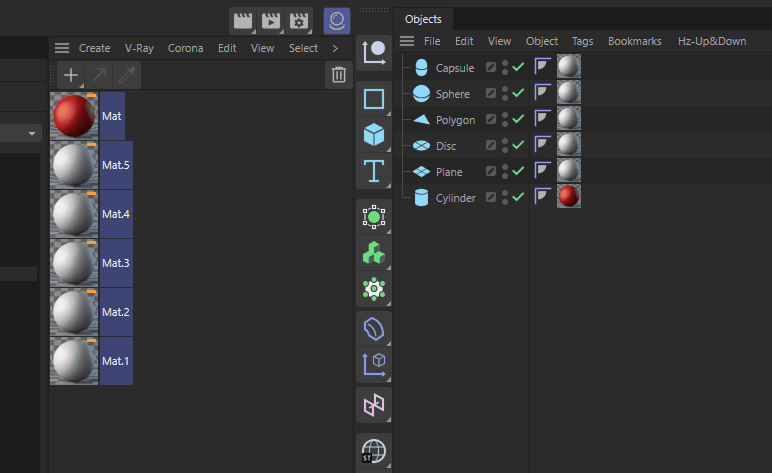
Random Color : Random color display of selected objects
Direct click : Random color display
Ctrl : Random grayscale display
Shift : Regular random color display
Alt : Reset display color to material

Drop to Floor : Position the selected object to the Y-axis plane.
Axis to Floor : The selected editable object axis moves to the bottom of the Y-axis.
Split Objects : Split select object with selection tag ( The predecessor of the Splitter plugin )
Split objects are insert as children of the original object, and the newly created object is centered on its axis.
Split objects only keep the corresponding selections and material labels.
The original object only keeps the latest material without a selection.
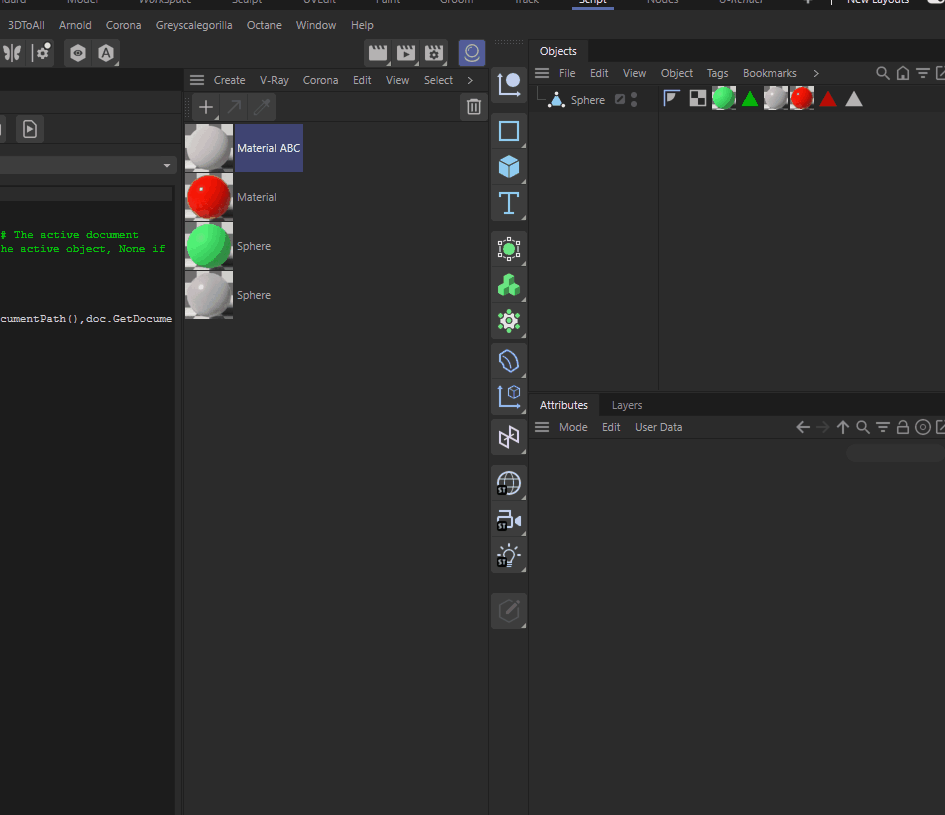
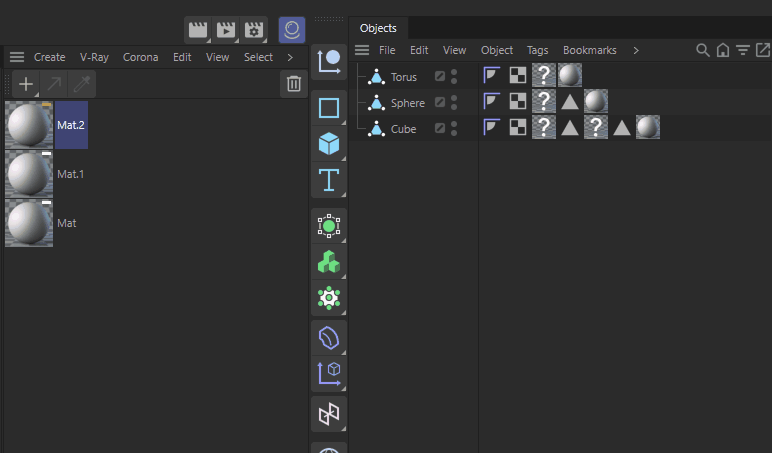
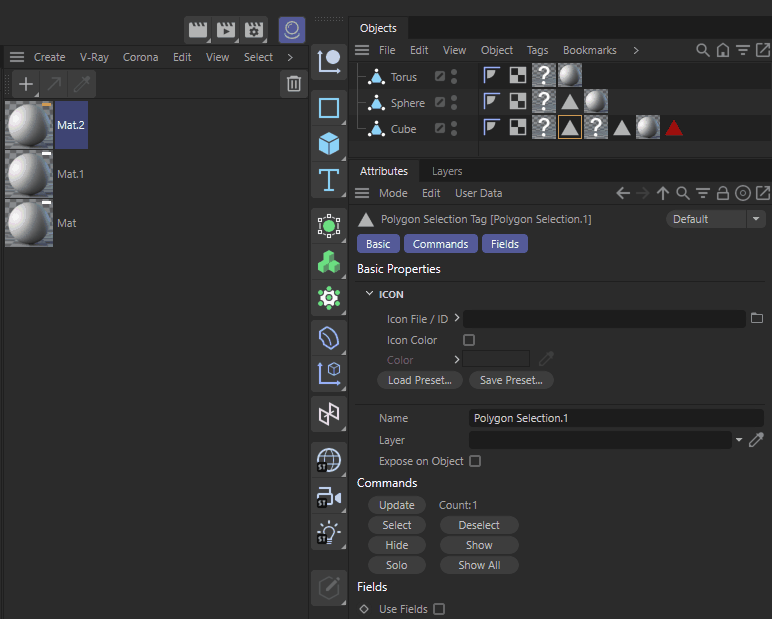
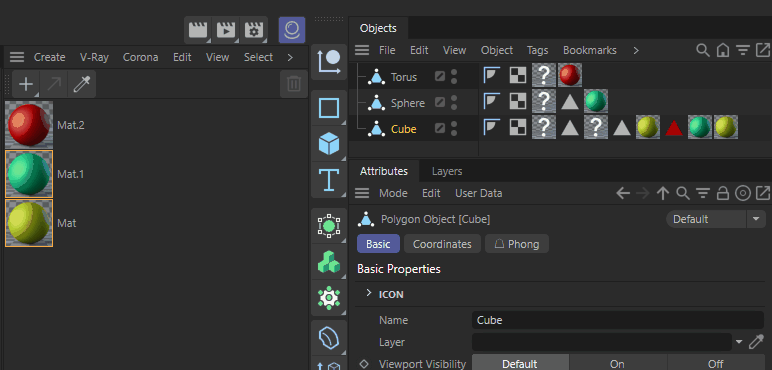
Merge Selection Tag : Merge the selected selection labels into a new selection label, mark it green, and select the new selection.
Mo Selector : Select the effector corresponding to the generator instrument, select the domain corresponding to the effector (Alt can rename it)
Mo Quantize : Add "Regular Rotation" to the selected Motion Graphics Generator.
Mo Hidebox : Add "Hide" to selected Motion Graphics Generators
Make Preview : Generate animation preview for the current project, save as MP4
Generate a preview MP4 file and save it in the 0_FlipBook folder under the 3D folder
File directory format:
. \0_FlipBook\Pure Project Name\1024\010_v1.mp4Pure Project Name: the project name in the standard project name, or common project name, you can manually enter it.
Default Viewport Render hardware rendering, use Geometry Only, MSAA 2x, Super Sample 2x2
Direct click: generate MP4 file
Alt-click: automatically play the generated MP4 file.
Ctrl-click: Open MP4 file directory.
Render Path : Set the rendering path using the custom Token plugin , available in the rendering settings
RenderFlow/WorkFlow name : Render folder in the same directory as the project / Shot number / Version / Modification date / Camera name
common name : render folder in same directory as project / project name / active camera name (if any) / project name
Quick Folder : Insert custom folder structure
Quick Camera : Insert a simple camera rig ( Recommend MC_Camera plugin instead )
Common Flow
those are common functions in every render engine
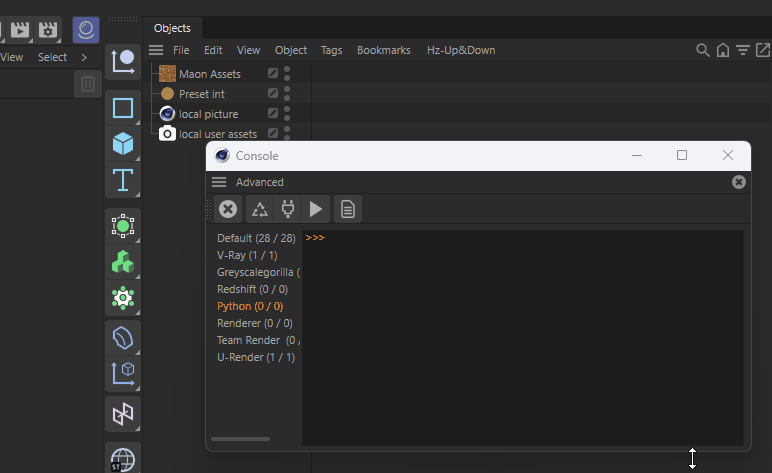
IPR Viewer : Open the IPR window for the current renderer
Direct click : opens the real-time rendering window of the current renderer
Alt-click: opens the rendering settings (the Octane renderer opens the Octane settings)
Node Edotor : Open the material editor for the current renderer, depending on the selection
Selection priority : Texture tab > Selection tab > Objects > Material
Priority: means that if the texture label is selected, the selection set label is ignored, and so on
Select determination (priority from top to bottom)
Texture label: select the material corresponding to the texture label, open the material editor
Selection label: select the material corresponding to the selection label (if any), open the material editor

Select object: select the last material tag of the object (usually the latest material), open the material editor
Select Material: select the material, open the material editor.

Other condition
If multiple tags are selected, texture tags are judged first
When multiple tags are selected, always determine the last available tag
If the material manager is on, it is positioned to select the material
Select Material: selects the material and opens the material editor
New Materials : Based on the selected object, create a new material for the current renderer and identify it.
Selection priority : Texture tab > Selection tab > Objects > Material
Priority: means that if the texture label is selected, the selection set label is ignored, and so on
Direct click : Normal mode, creates a material instance for the selected objects.
Shift-click : Multi Mode, creates a material instance for each selected object under multiple selection conditions.
Selection decision (priority from top to bottom)
Texture Label: create material, point to texture label, keep name
Selection labels: create a material, assign it to the material label of the selection (if any), or create a new material label and keep the name
Viewport selection: create a material, create a new selection based on the polygons selected by the window, identify the material
Select Objects: create a new material, assign it to an object, and place it on the last material tag to ensure that it takes effect.
Select Layer: New material, assign to selected layer, customize name
No selection: new material, customized name
Other condition
After creating a new material, the material editor opens automatically.
If the material refers to an object that is not an editable object, the material projection will be set to a cubic projection (suitable for the object).
If the object has layers. If the object has layers, the newly created material and label will be added to the corresponding layer.
Errors, material labels are not recognized if the object is a camera, deformer, domain object, etc. that does not support material types.
When creating a new material for an object without a uwv label, set the material label to cubic mode and apply Fit to Object.
Octane material color defaults to 0.75 white, roughness defaults to 0.2, material layer enabled by default.
Octane material, except Diffuse type, default BRDF is GGX (ggx energy preserving).
New Octane Refraction material (Specular), Roughness is 0, Fake Shadow is enabled by default.
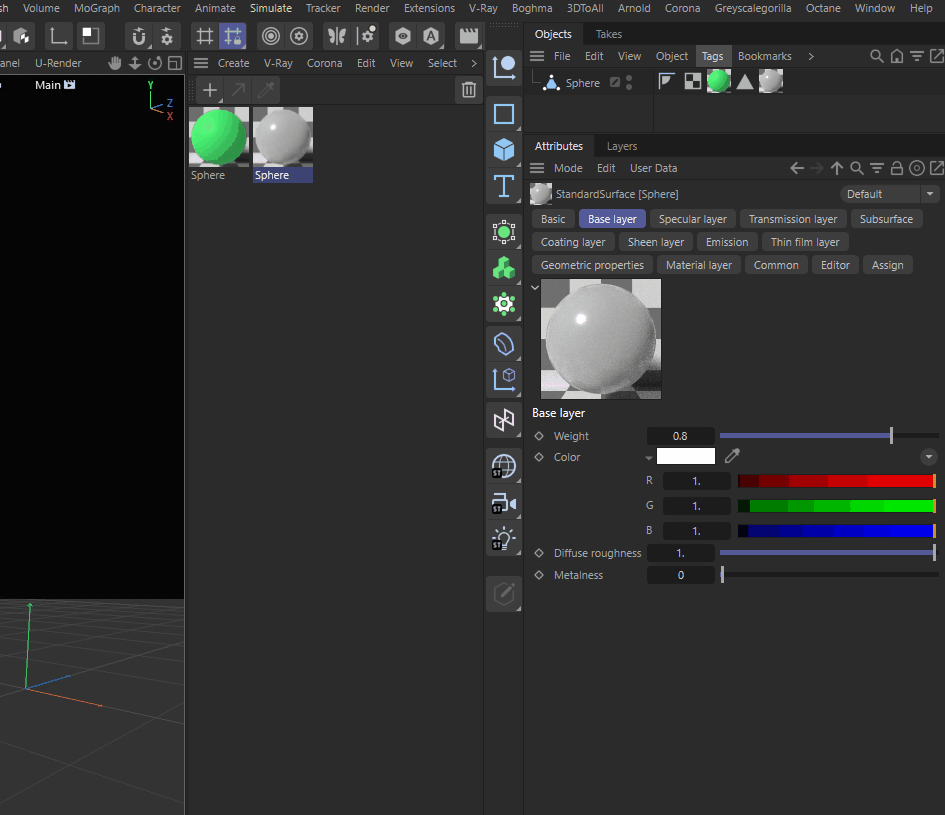
New Redshift and Arnold node materials expose common ports by default.
Hold Shift to activate it, it will create a new material for each selected valid determination.

Target Light : Based on the object selection and modifier keys, the current renderer's lights are created and placed in the scene.
Direct click: Normal insertion into the scene
Ctrl-click: Lights are placed below the selected object level.
Shift click: the light is inserted into the scene as a child of the selected object.
Others :
Selection of objects activates the creation of lights of the same name with random icon colors, targeting the selected objects
If more than one object is selected, a new empty object is created with the center of the selected objects and the target is the empty object.
No object selection active, create light and empty object, same random icon color, target is empty object
Lights default to Y-center height 200
Lights come with lightbox texture by default, if you want to replace it, replace RF_Light.exr file under res\assets\tex.
When you create a new light, you can use modifier keys to define the placement method (Shift, Ctrl).
If GSG Link is installed, the light will be automatically added to the link for easy use, the link does not have tex by default.
Octane light intensity is 4 by default, camera is not visible.
Redshift light intensity is 16 by default, view preview is disabled.

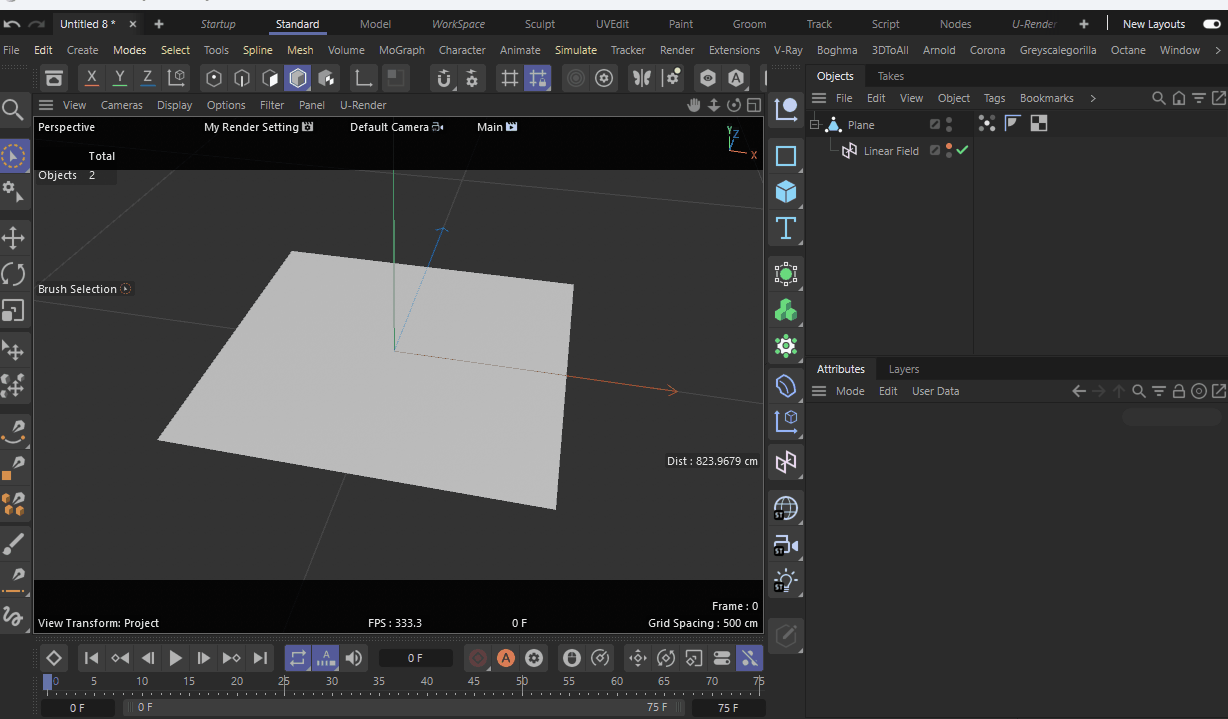
Sun Light : Create a sunlight with target
Dome Light:
Direct click: New HDR ambient light with default texture
Ctrl-click: New solid black background (no lighting)
Shift Click: New HDR and solid color binding.
Manager :
Texture Manager :
Renderer texture manager if they have
Alt : C4D texture manager
AOV Manager :
Renderer aov manager if they have
Arnold will activate the aov of the first display driver, if not it will create a new display driver
Light Manager :
Boghma Light Manager if you installed.
Render Light Manager if they have.
Clean TexTag : Clean up all invalid texture labels in the scene
Clean SelTag : Clear empty selections or invalid material labels on selected objects
Direct click : Clear the empty selection label on the selected object.
Alt-click : Clear the material labels of the selected objects that do not correspond to a selection, and keep the latest valid materials.
Merge Material : Merge the selected materials and replace them with the new ones (keeping the selection)
Direct click: merges the selected materials and replaces them with the new one (preserving the selection).
Alt-click: Merge the selected materials. replace them with the new material (keep the selection), and delete the original material.
Ctrl-click: Delete unused materials (C4D's own function).
Collect Tex : Collect (copy) the used textures into the tex folder at the same level of the project and update the references
Insert : Paste objects, support C4D modifier keystrokes (Ctrl-sibling below Shift-subset).
Octane Flow ( Only Special )
Materials : Materials create by RenderFlow is bit different with default material
Specular material Fake Shadow is On
Default roughness is 0.2
Default Color is Vector(0.75)
Use ggx energy preserving by default
Object Tag :
Direct click : Add object label for selected objects
Alt-click: add object labels for selected objects, object color is randomized, object ID is sorted by number of selections.
Ctrl-click : Add Cineware label for selected objects ( External composite label )
Camera Tag :
Newly created camera tags that will inherit settings from Octane's global settings
Direct click : add camera tag for selected camera, if camera tag already exists, it will be skipped.
Alt-click: add camera tag to all cameras in the scene, cameras with existing camera tags will be ignored.
Ctrl-Click: Position the Object Manager to the active camera, add the camera tag if it doesn't already exist
Scatter :
Click :
Select objects as generated objects (scatter on selected objects)

Select vertex mapping labels: generate scatter object with labels as selection set and objects where labels are located as objects
Select object to generate scatter object with object as object
Mode is random, random seed random change
Alt Click :
Selection of objects (multiple choice) as scatter objects (selection of objects as a subset of scatter)
Scatter object name can be customized
Global coordinates of the Scatter object are inherited from the first selected object
Sub-object coordinates are centered and zeroed relative to the Scatter object

Redshift Flow ( Only Special )
Materials created through Render Flow expose common ports
Bakeset : Auto insert selected objects in to the bakeset list ( must be editable and had UVW tag )
Proxy : Auto export selected object with a proxy into the project folder and insert the proxy,
Alt : remove original object
Arnold Flow ( Only Special )
Proxy : Auto export selected object with a proxy into the project folder and insert the proxy,
Alt : remove original object
Mask Tag
Click : Add a mask tag with custom name, and create mask aov
Alt : Add a mask tag with object name, and create mask aov
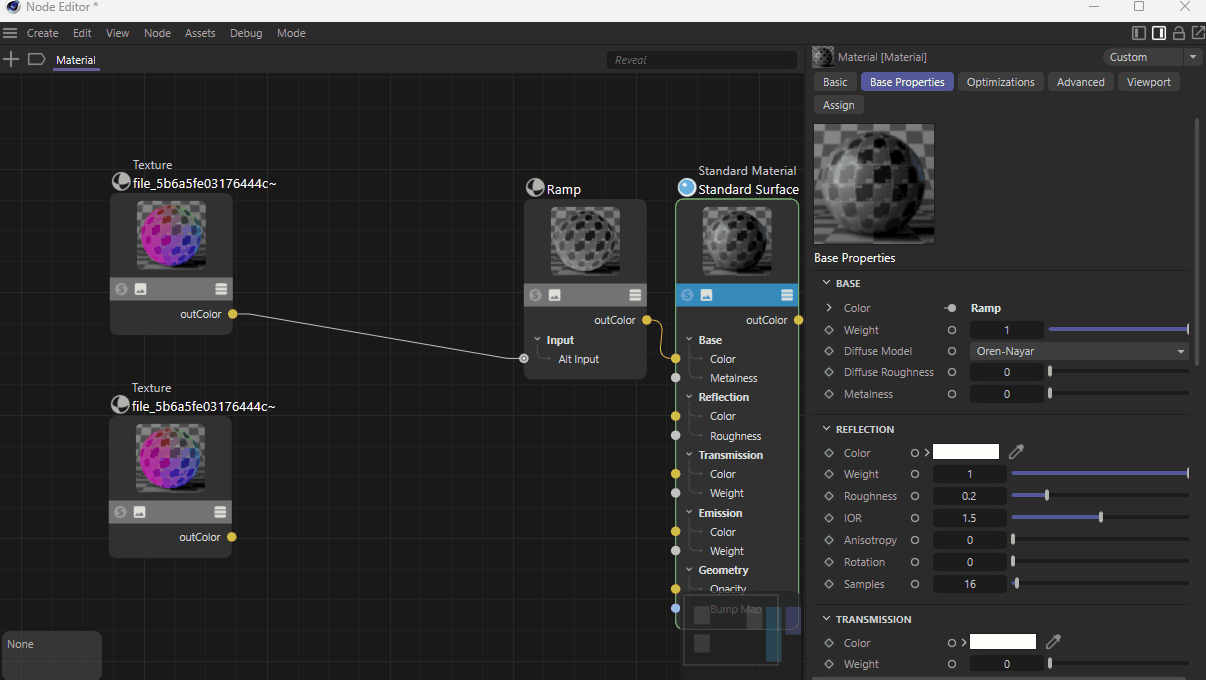
Material Flow ( Only Octane )
Hit Ctrl ~ to call Material Flow ( default shortcut )
UniTransform : Search all ImageTexture nodes in the material and add a transform node to control.
Refresh : Search all ImageTexture nodes in the material and force reload the textures.
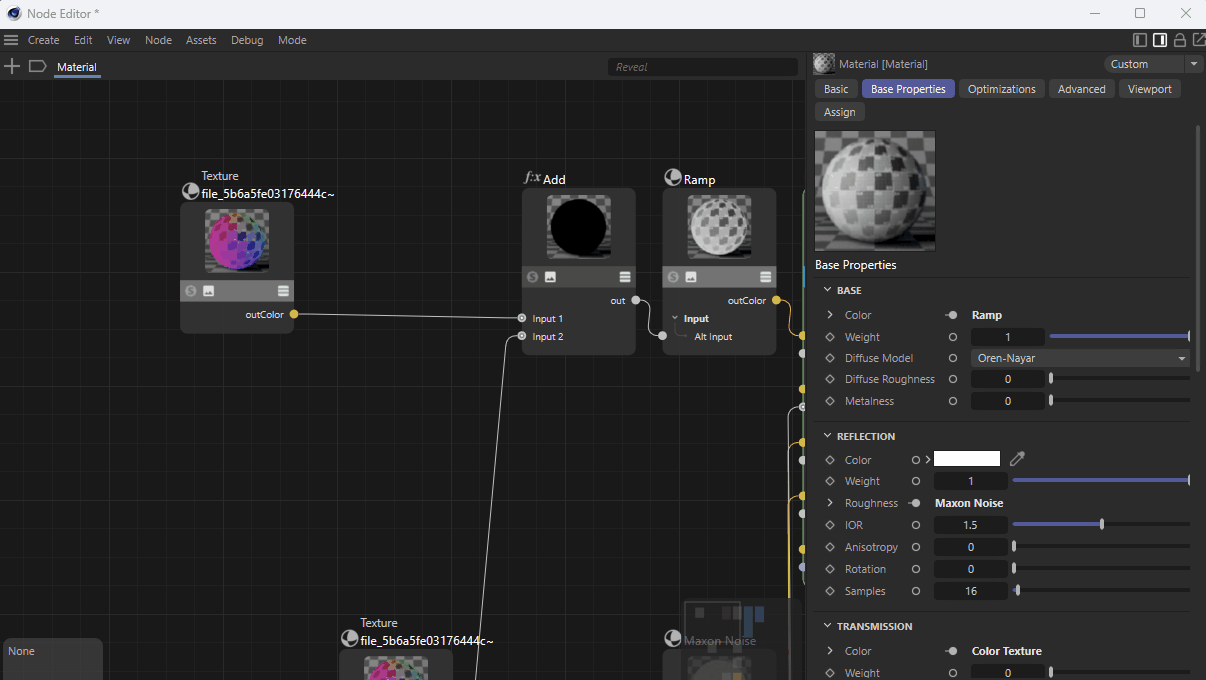
Node Flow ( Redshift & Arnold)
When you open Node Editor and select something in it, hit ~ to call Node Flow ( default shortcut )
Select Node :
Only one node :
if the node is connect with other node, new node will auto insert in to the wire.
Two nodes :
trigger mix mode, it will try to connect the two node into the new node
nodes :
UniTransform : Add a custom transform node like Octane to selected Texture node.
Select Port :
it shows different menus depending on the port type

Select Wire :
Insert new node to the wire
Project Functions
those are as same as WorkFlow project manager but a simple version. Use WorkFlow instead!
Projects create by this manager should be compatible with WorkFlow .
See more detailed document in WorkFlow.
DON'T CHANGE FOLDER NAMES UNLESS IF YOU KNOW WHAT HAPPENED
New RootSpace :
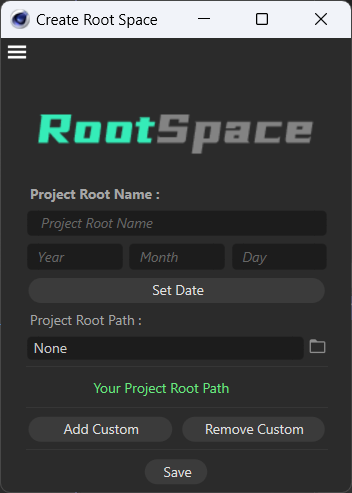
Does not create a new C4D file, you need to use New Project to create it.
Generated path :
\Root Space\Year\MonthDate_Project_Name\...Project Root Path: represents the local project pool directory, it will automatically save the last path, theoretically, you only need to set it once.
Add Custom : The generated folder is in the 3D directory
Set Date : Automatically set the current date.
New Project :
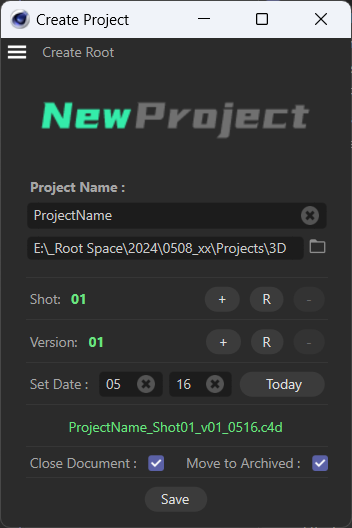
Project Path :Read the 3D folder in the last created Root Space directory tree.
Project Name: the name of the project, if the standard project name has been opened, the project name will be loaded automatically.
Shot: Shot number, initially 01, if the standard project name has been opened, the project shot number will be loaded automatically.
Version: version number, initially 01, if the standard project name has been opened, the project version number will be loaded automatically.
Date: date number, initially the current date, if the standard project name has been opened, the project date number will be loaded automatically.
More Example:
ProjectName_Shot010_v1_1216.c4d
Project name + Shot number + Version + Modification date
Project name: the name of the project, in plain characters, preferably without underscores.
Shot number: Shot number, use underscore (_) + Shot + three digits (010) to show that
_Shot is a fixed format
First digit: placeholder for tenths, used when there are more than 9 shots.
Second digit: placeholder for the first shot 010
Third number: insertion placeholder, used when adding shots, such as 010 and 020 to add shots, use 011, you can disable this
Version number: the iterative version of the project, indicated by underscore (_) + v + number
Modification date: the date of modification of the project, using the underscore ( _ ) and four digits to indicate that
Video tutorial
No video yet
Future plan
None