UVEdit Pro
UV Edit Pro — A UV editor built into Cinema 4D 2026: unwrapping, optimization, alignment, packing, shell groups and stacks, plus the ability to view distortions and texel density directly in the 3D viewport
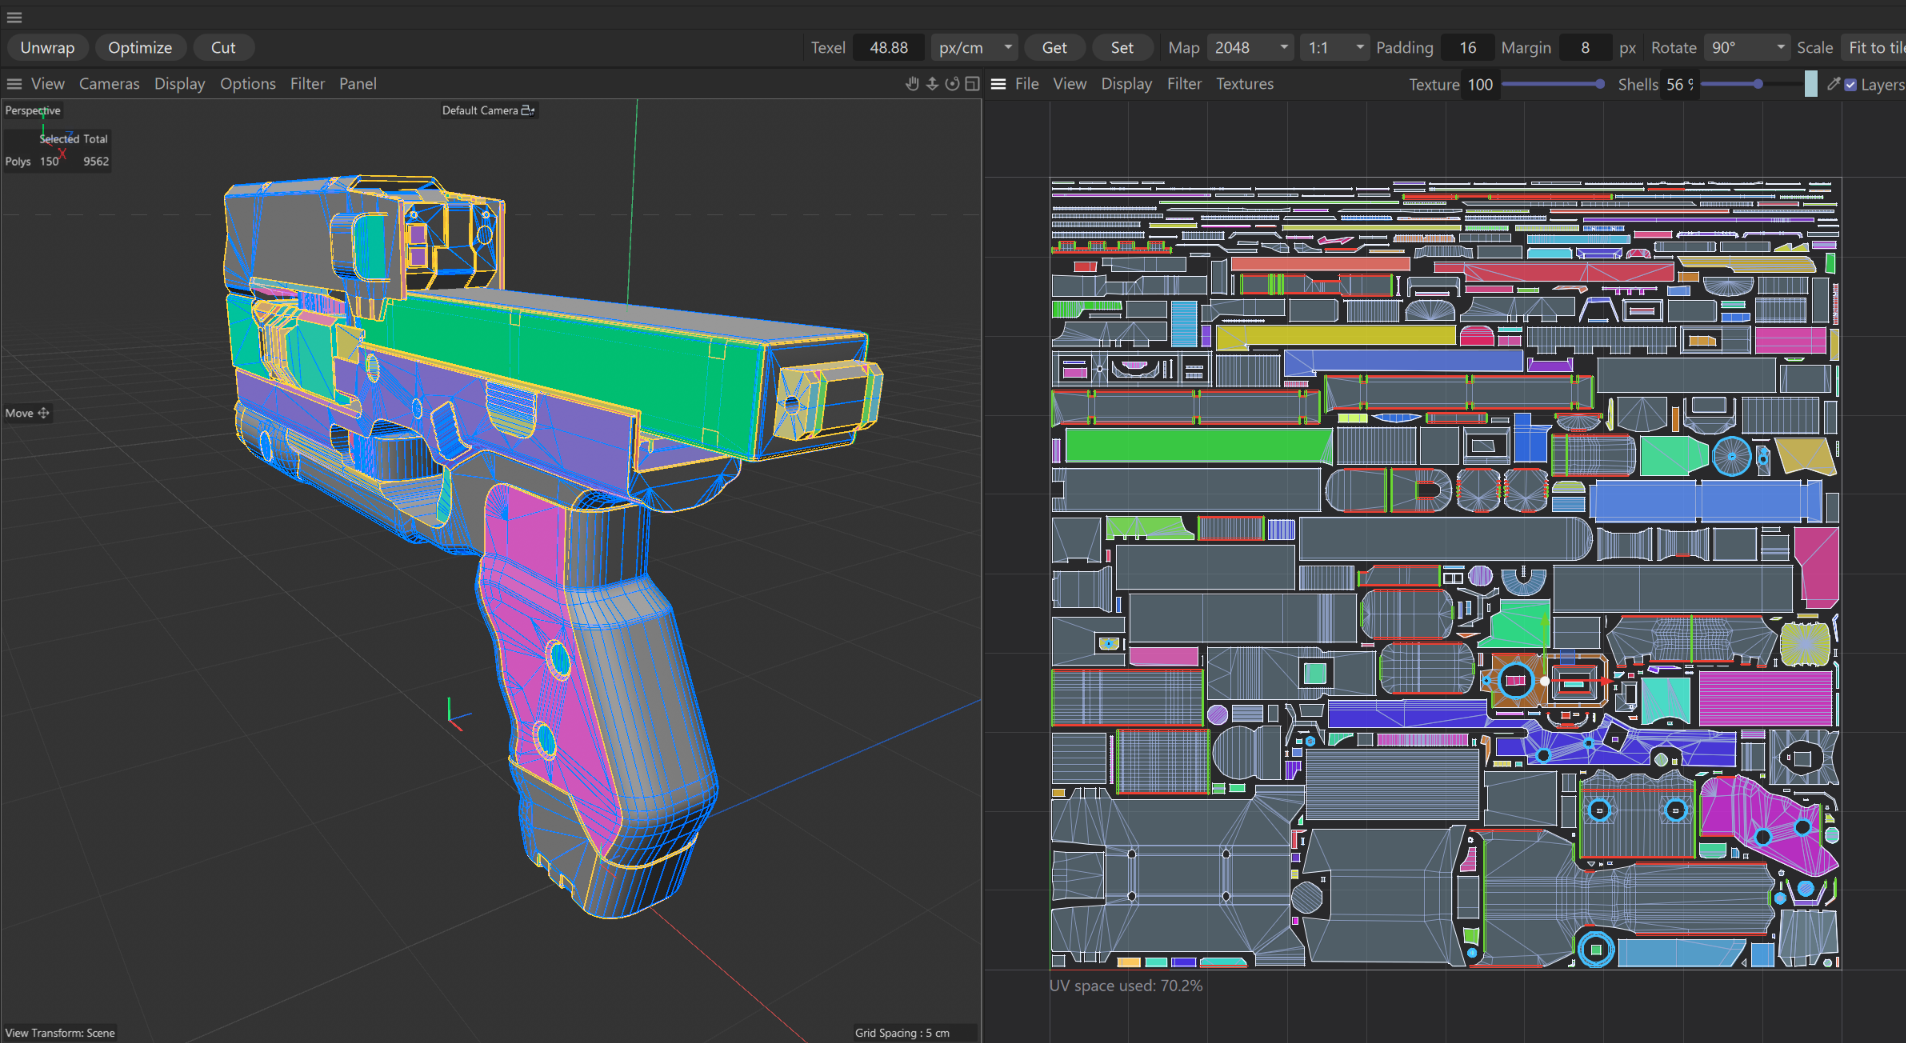
Unwrap, straighten, stack and pack your UVs without leaving Cinema 4D or switching it into UV modes. Settings bar, UV editor and tools all live in one window, and your 3D viewport stays the main view.
Highlights
Unwrap and Optimize that respect your layout. Shells are solved in place: they keep their position and rotation, never flip, and keep any edges you have aligned.
Align system. Lock edges to vertical, horizontal or the nearest axis (Auto), or snap loops to perfect circles. Constraints are stored with the mesh and honoured by every later Optimize and Unwrap. Auto Straighten turns a whole shell into a clean grid in one click.
Smart packing. Fast, Medium and Best quality. Padding and margin are set in texture pixels and follow the map size (256 to 8K). Rotation can be None, 90° or Free. Scaling options: fit to tile, keep size, or match a target texel density. Stacks stay stacked.
Groups and stacks. Find identical shells automatically and stack them. A Similarity slider controls how strict the match is, from “close enough” to exact topology, triangle count and area. Mirrored copies are optional. Offset Copies moves duplicates to the next tile for baking and brings them back in one click.
Texel density tools. Read the density from a shell, apply it to others in px/cm, px/inch or px/m, and pack to it.
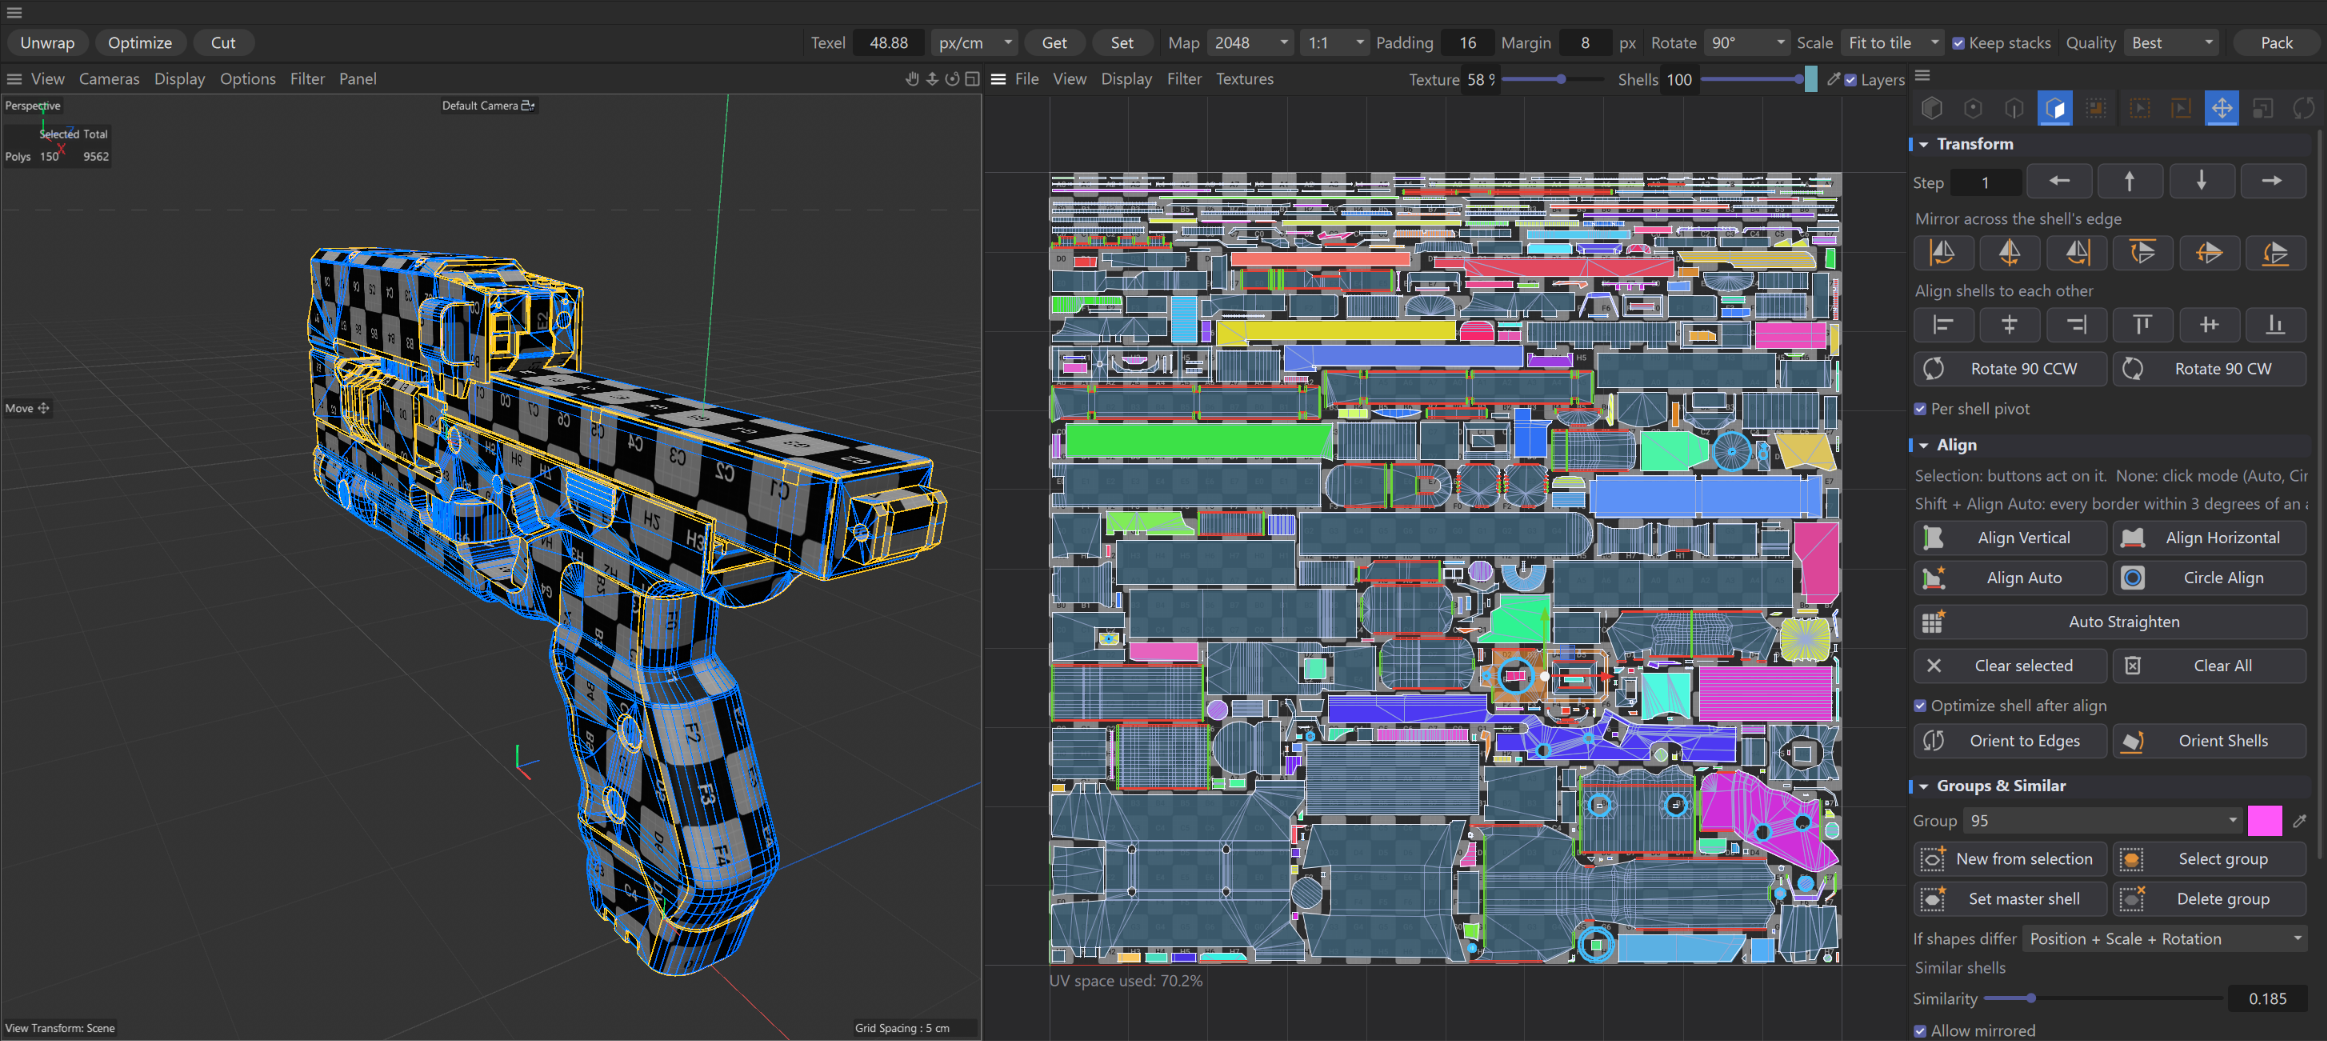
Live 3D feedback. Distortion and Texel Density heatmaps drawn right on the model, on top of Cinema 4D’s own shading and reflections. Colour follows curvature, so it blends smoothly on soft surfaces and stays crisp on hard edges. Seams, overlaps, group colours and a checker texture are also available in the viewport.
A UV editor that feels native. Point, edge, polygon and shell modes. Move, Rotate and Scale gizmos with snapping. Loop and shortest-path selection, plus Live, Ring, Path and Lasso picked from Cinema 4D. Hotkeys for everything: Unwrap (U), Optimize (O), Pack (P), Cut (C), Sew (W), Stack (Shift+C). Hover over a shell and press a key to work on just that shell.
Clear UV view. Stack numbers and group labels, an align-edge overlay, a choice of background textures (checker, color grid, your own image), adjustable opacity, and a readout of how much UV space is used.
-
Safe by design. Every action goes through Cinema 4D’s undo, and per-project settings are saved with the scene.
Ready-made window or your own layout
The plugin offers two ways to work; pick one and save it in your Cinema 4D layout.
Menu entry
What it opens
When to use
UV Edit Pro
Everything in one window: settings bar on top, UV View on the left, tools on the right
The quickest start; dock the window wherever you like
UV Edit Pro - Settings
Only the settings bar (Unwrap, Optimize, Cut, Texel, Map, Pack…)
Build your own layout: dock each panel separately, e.g. the bar above the viewport and the UV View next to it
UV Edit Pro - UV View
Only the UV editor with its menus
UV Edit Pro - Tools
Only the tools panel (modes, Transform, Align, Groups & Similar)
Use one way at a time: don't keep the all-in-one window open together with the separate panels. After docking, save the layout (Window → Customization → Save as Startup Layout) so it opens like this every time.
The window
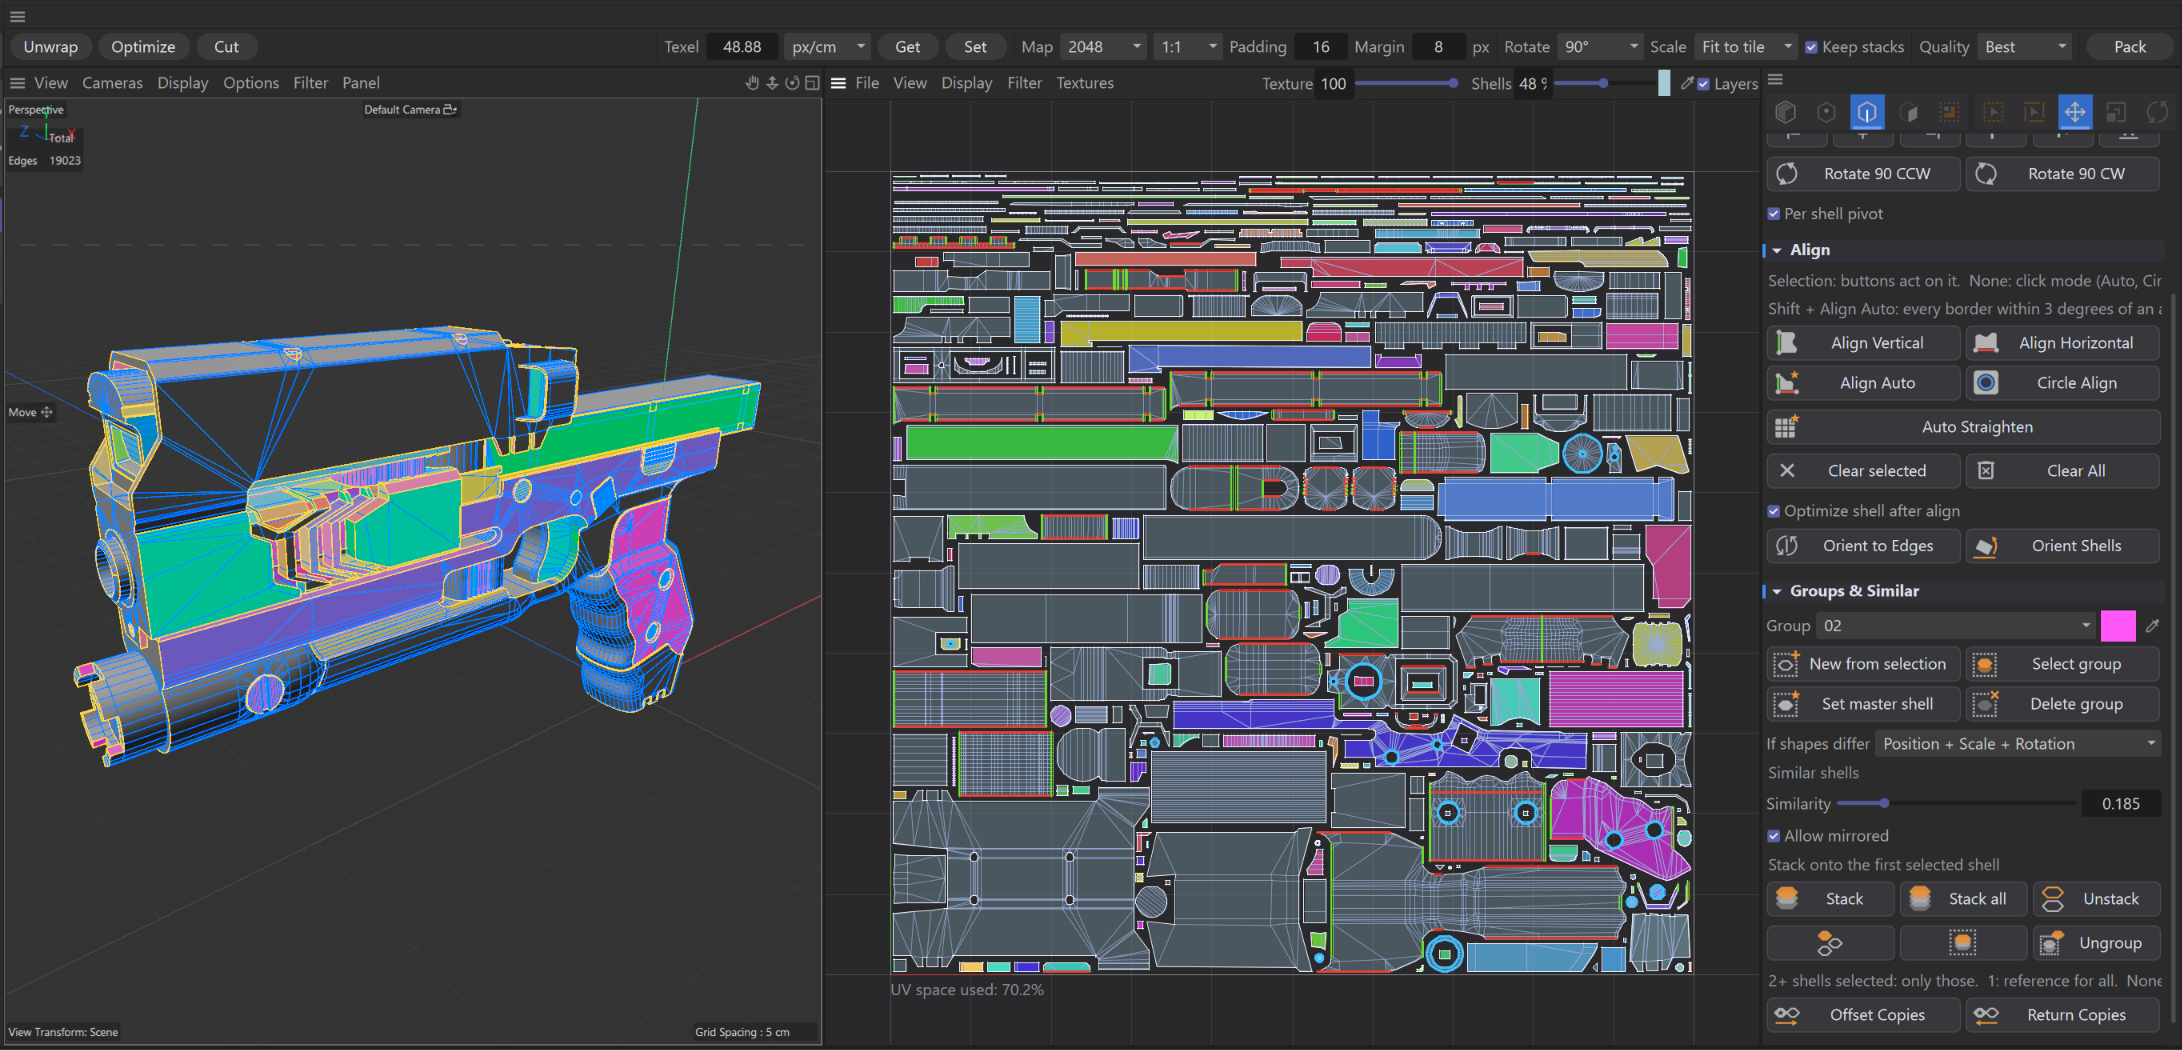
The UV Edit Pro window has four parts: the menus at the top, the settings bar below them, the UV View on the left and the tools panel on the right.
Part
What's there
Menus
File (background texture), View (framing), Display (what to show), Filter (grid, axes, HUD, tiles), Textures (background: none, Color Grid, Checkerboard, an image). At the right end of the same row: Texture opacity, Shells opacity and colour, the Layers checkbox
Settings bar
Unwrap, Optimize, Cut, texel density, map size, packing options and the Pack button
UV View
The UV editor: shells, stack numbers, group labels, Move / Rotate / Scale gizmos; the used UV space is shown at the bottom
Tools panel
Selection modes and tools, plus the Transform, Align and Groups & Similar sections (click a section title to fold it)
Navigating the UV View
Mouse wheel — zoom around the cursor.
Middle button or Alt + left button — pan.
A — frame all, F — frame the selection.
-
Right button — context menu (e.g. Select Flipped, Select Overlapped).
Selection, tools and hotkeys
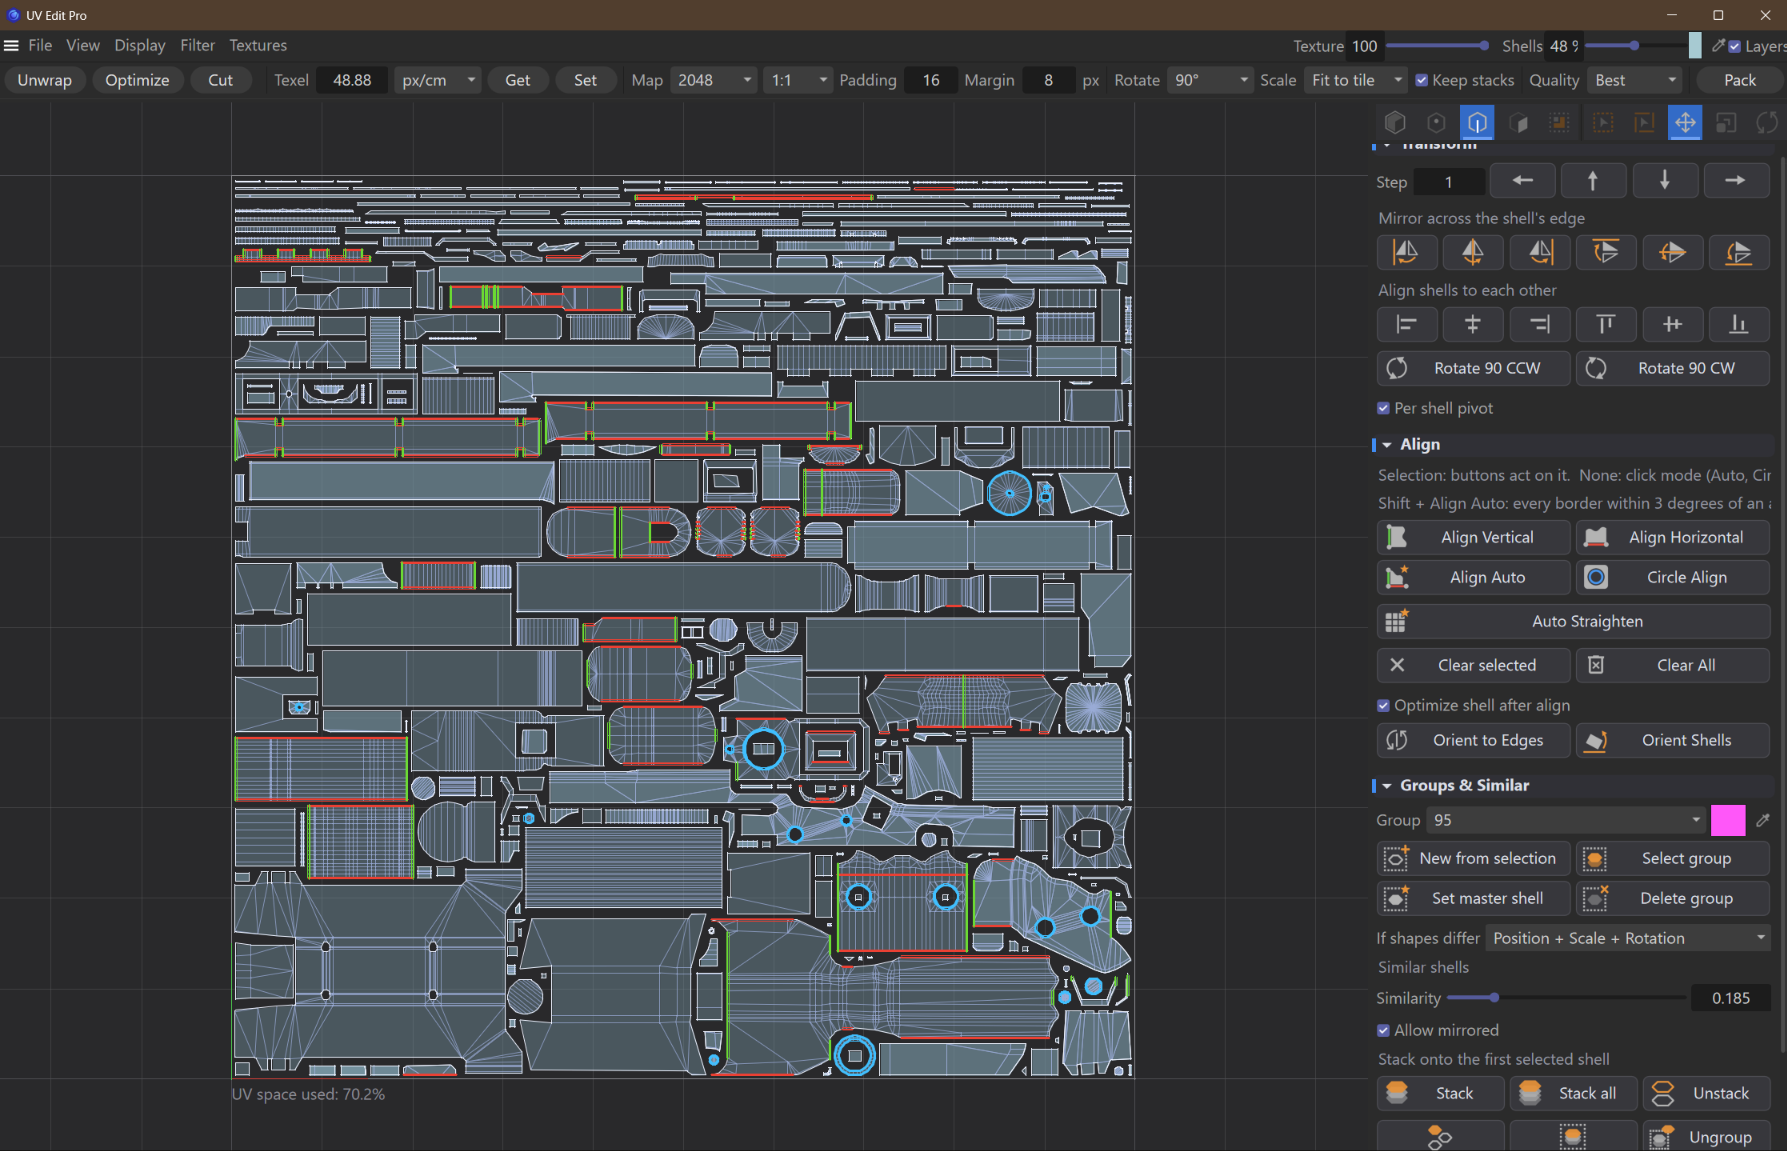
Pick a mode and a tool with the icons at the top of the tools panel or with the keys; the keys work while the UV View has focus and don't interfere with the rest of Cinema 4D. The active tool is shared with Cinema 4D: picking it in one place switches it in the other.
Modes: Model (objects) · UV points 1 · UV edges 2 · polygons 3 · shells 4 (shell selection also works in the 3D viewport).
Tools on the panel: rectangle selection, Loop, Move, Scale, Rotate. Live, Ring, Path, Lasso and Polygon selection are picked in Cinema 4D and work in the UV View as well.
Key |
Action |
|---|---|
E / R / T |
Move / Rotate / Scale |
1 / 2 / 3 / 4 |
Mode: points / edges / polygons / shells |
A / F |
Frame all / frame selection |
Ctrl+A / Ctrl+I / Esc |
Select all / invert / deselect |
Ctrl+1 / Ctrl+2 / Ctrl+3 |
Hide selected / hide unselected / show all |
U / O |
Unwrap / Optimize (cursor over a shell — only that shell) |
C / W |
Cut / Sew the selected edges |
P / Shift+P |
Pack / Pack keeping sizes (cursor over an unselected shell — pack only that one) |
Shift+C |
Stack the selected shells |
Alt+T / Alt+V / Alt+C |
Align Horizontal / Vertical / Circle |
Mouse modifiers
Shift adds to the selection, Ctrl removes from it (by click or box, in Move / Rotate / Scale too).
Double-click selects the loop under the cursor; Ctrl+Shift+click selects the shortest path from the last picked element.
In Move / Rotate / Scale: Ctrl+drag the pivot itself to move it (with Shift it snaps to corners and centre), Ctrl+double-click resets it; Shift toggles step snapping, as in the viewport.
Box tool: dragging an element that is already selected moves it.
Settings bar: unwrapping, texel density and packing

Map size, Padding, Margin and Texel are stored in the scene, so every project keeps its own. Defaults: 2048 map, 16 px padding, 8 px margin, 10 px/cm.
Control |
What it does |
|---|---|
Unwrap |
Unwraps the selected shells along their seams. The shell stays where it was, with the same rotation, never mirrored |
Optimize |
Relaxes the shells to reduce distortion, honouring Align. Position and rotation are kept |
Cut |
Turns the selected edges into seams (for polygons: cuts around them) |
Texel, units |
Target texel density: px/cm, px/inch or px/m |
Get / Set |
Get reads the density of the selected shells, Set scales them to the target |
Map, ratio |
Map size from 256 to 8192 and tile shape 1:1, 2:1, 1:2 |
Padding / Margin |
Gap between shells / from the tile border, in map pixels; recalculated when the map size changes |
Rotate |
Rotation while packing: None, 90°, Free |
Scale |
Fit to tile (fill the tile), Keep (keep sizes), Texel density (pack to the target density) |
Keep stacks |
Stacks are packed as one shell and stay on top of each other |
Quality |
Fast, Medium, Best — higher is tighter and slower |
Pack |
Packs the shells into the tile with these settings |
Unwrap and Optimize work on the selected shells (a selected group member brings its whole group). With nothing selected they work on every shell except stacks in groups; stacks are processed only when you hover over them and press U or O.
Transform
The Transform section moves, mirrors, aligns and rotates the selection in exact steps.
Control |
What it does |
|---|---|
Step + arrows |
Move left / up / down / right by Step (1 = one UV tile) |
Mirror across the shell's edge |
Mirror in U across the left edge, centre or right edge, and in V across the top edge, centre or bottom edge |
Align shells to each other |
Line shells up by their left / right / top / bottom edges or centres |
Rotate 90 CCW / CW |
Rotate by 90° counter-clockwise or clockwise |
Per shell pivot |
Each shell rotates and scales around its own centre instead of a shared one |
Align
Align locks edges to the axes or to a circle. These are constraints stored in the UVW tag and honoured by Optimize and Unwrap. With a selection, a button acts on it; with nothing selected it starts a click mode on edges or shells (Esc to leave).
Button |
What it does |
|---|---|
Align Vertical / Horizontal |
Makes the selected edges, or the shell's borders, vertical / horizontal |
Align Auto |
Sends each edge to its nearest axis. With nothing selected — click edges; Shift + Align Auto — every border within 3° of an axis |
Circle Align |
Makes a closed loop a circle. Does nothing on an open loop |
Auto Straighten |
Straightens the selected shells into a grid; with nothing selected — click shells. Edges leaning less than 9° follow an axis |
Clear selected / Clear All |
Remove Align from the selected edges / from all |
Optimize shell after align |
Optimizes the shell right after Align |
Orient to Edges |
Turns shells so the selected (or clicked) edges become straight |
Orient Shells |
Turns shells to their smallest bounding box |
Aligned edges are shown in colour in the UV View (Display → Align Edges). When Unwrap or Optimize puts a shell with Align back to its original rotation, it only does so in whole steps (180° for H/V, 90° for Auto), so the edges stay on their axes.
Groups, Similar and Stacks
A group is a set of identical shells lying on top of each other (a stack). One shell of the group is the master: Stack makes the others copy its shape, and Offset Copies leaves it in place. Groups are stored in polygon selection tags; each has its own colour (the swatch next to the Group list).
Button |
What it does |
|---|---|
New from selection |
Make a group from the selected shells |
Select group / Delete group |
Select the group's shells / delete the group (the shells stay) |
Set master shell |
The selected shell becomes the group's master |
If shapes differ |
How to fit shells that don't match exactly: Position + Scale + Rotation, Position + Scale, Position only |
Stack / Stack all / Unstack |
Stack the selected shells onto the first selected one / every group onto its master / lay them out side by side |
Select Similar |
Select shells with the same shape as the selected one |
Stack & Group |
Find similar shells, stack them and make groups (2+ selected — only those; 1 — use it as the sample for all; none — everything) |
Ungroup |
Remove the groups of the selected shells (nothing selected — all) |
Offset Copies / Return Copies |
Move stack copies one tile to the right (U + 1) / bring them back onto the master |
Allow mirrored |
Treat mirrored shells as identical |
Similarity and Stack protection. Stack only puts a shell on another when their point count, triangle count and 3D area differ by no more than the tolerance below. The higher the Similarity, the stricter the check; shells that fail stay where they are.
Display in the UV View and the 3D viewport
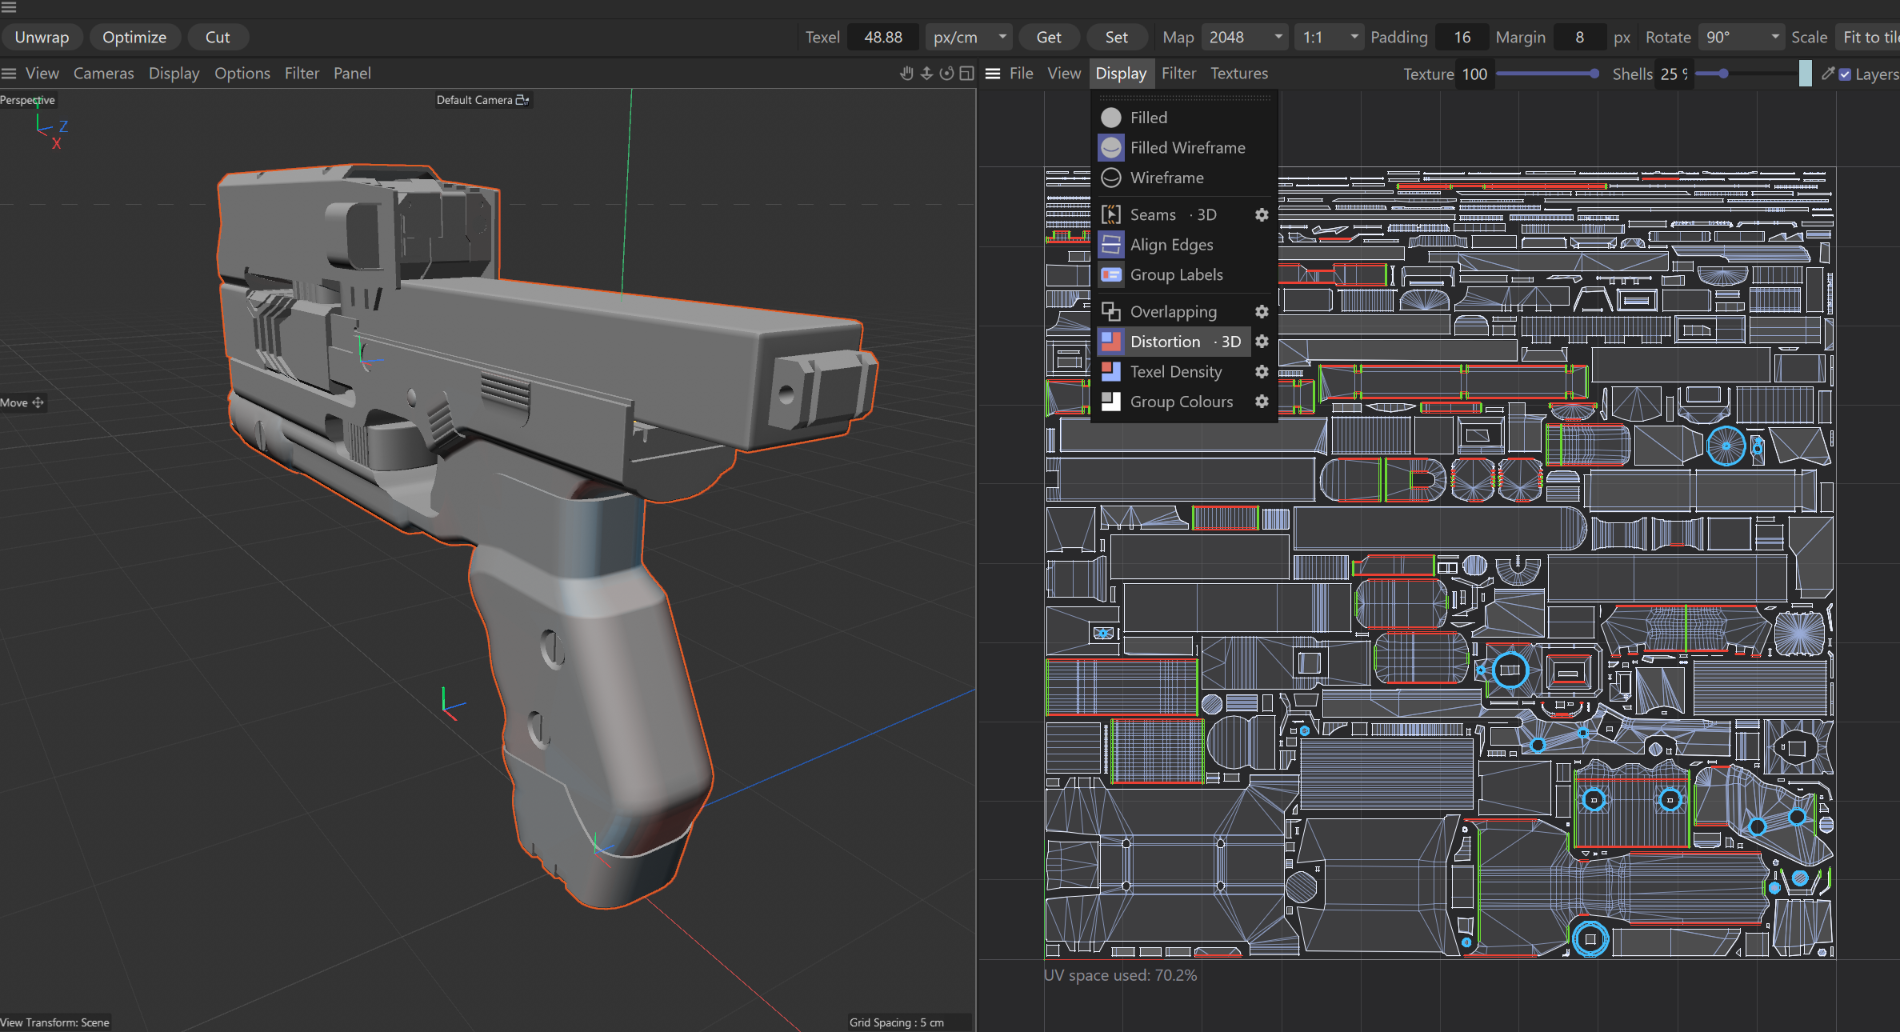
The Display menu turns overlays on in the UV View; the gear next to an entry also shows it in the 3D viewport (the entry name then gets "· 3D"). Overlapping, Distortion, Texel Density and Group Colours are exclusive: one at a time. In 3D the overlays work while the UV View is open.
Entry |
What it shows |
|---|---|
Distortion |
Area distortion: blue — the polygon takes more UV space than its 3D size calls for; red — less; grey — no distortion. Colour grows on a geometric curve and is full at a 2.5× difference |
Texel Density |
Density against the target (Texel): green — on target, blue — below, red — above |
Seams |
UV seams |
Overlapping |
Overlapping polygons |
Group Colours |
Group shells in their group colour |
Checkerboard |
A checker texture on the model |
Group Labels |
Group names and stack numbers in the UV View; drag a label to move its whole stack |
Align Edges |
Aligned edges in the colour of their constraint |
Filled / Filled Wireframe / Wireframe |
How shells are drawn in the UV View |
Distortion
Overlapping
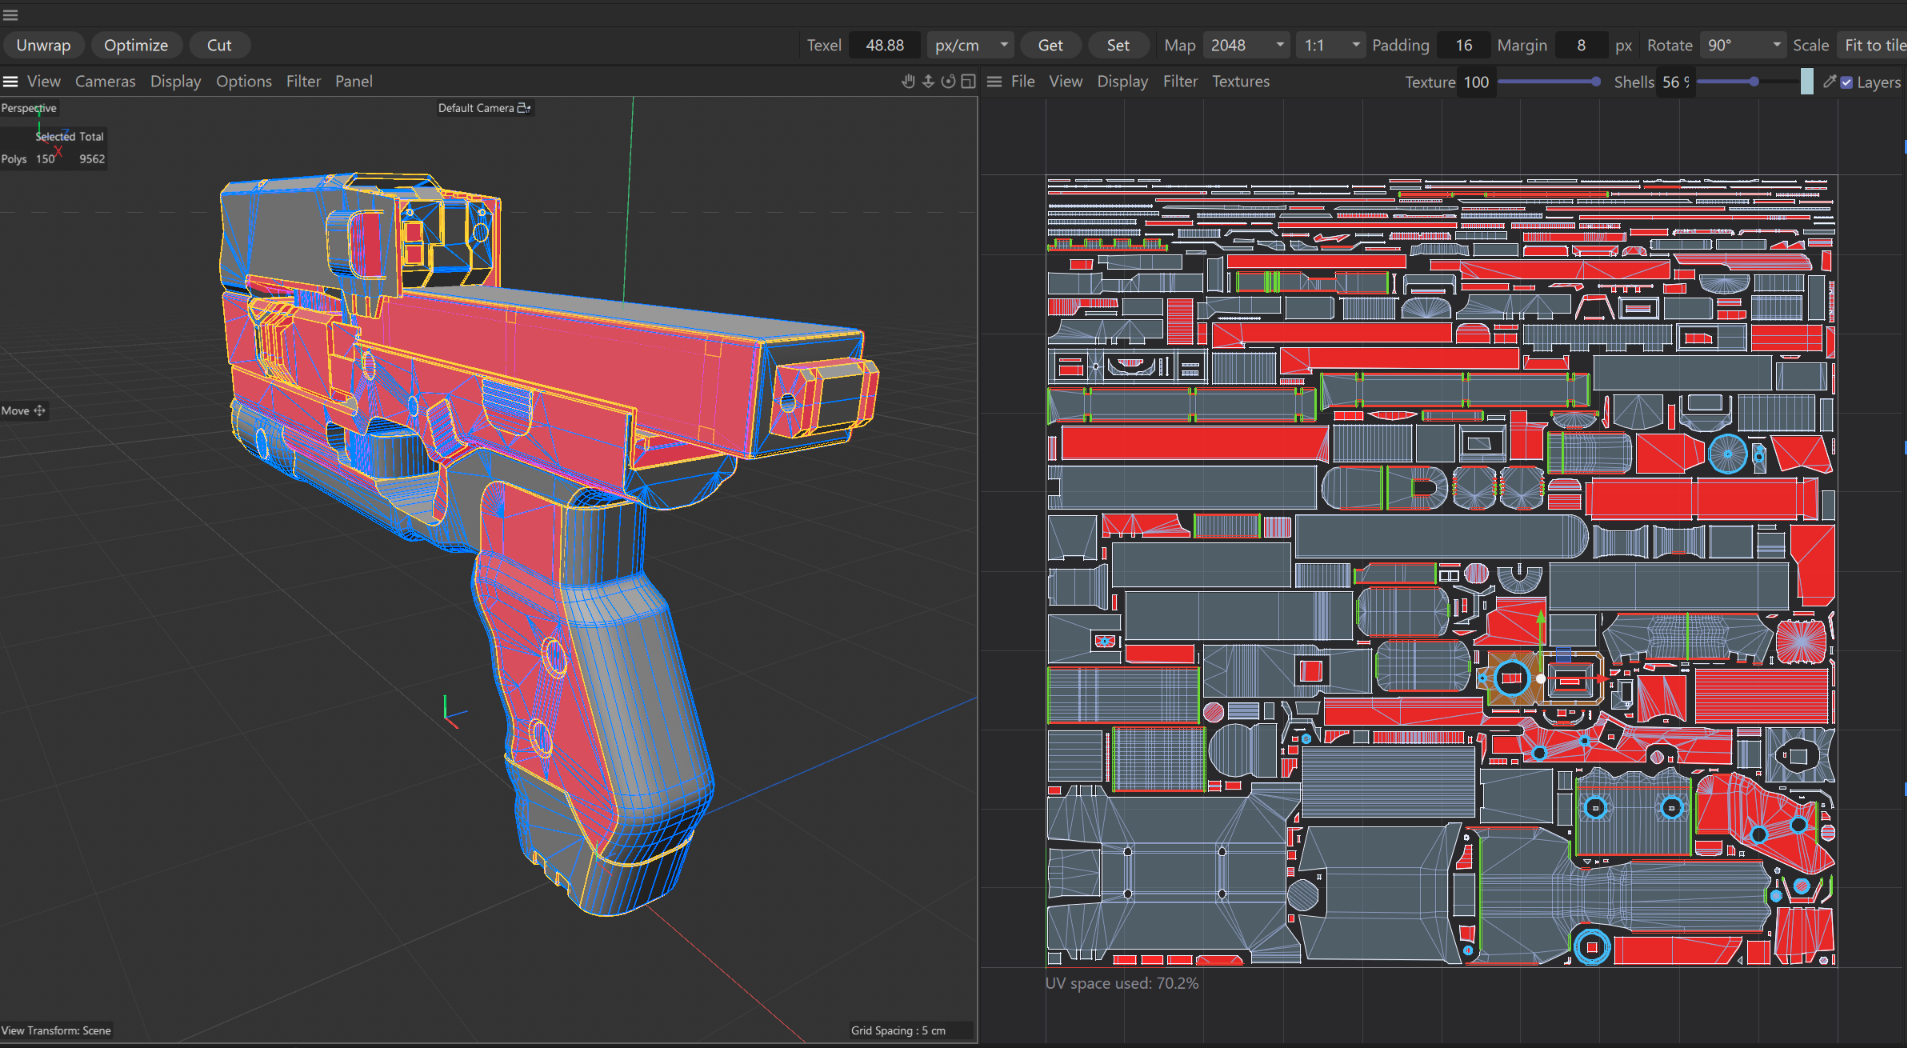
Texel Density
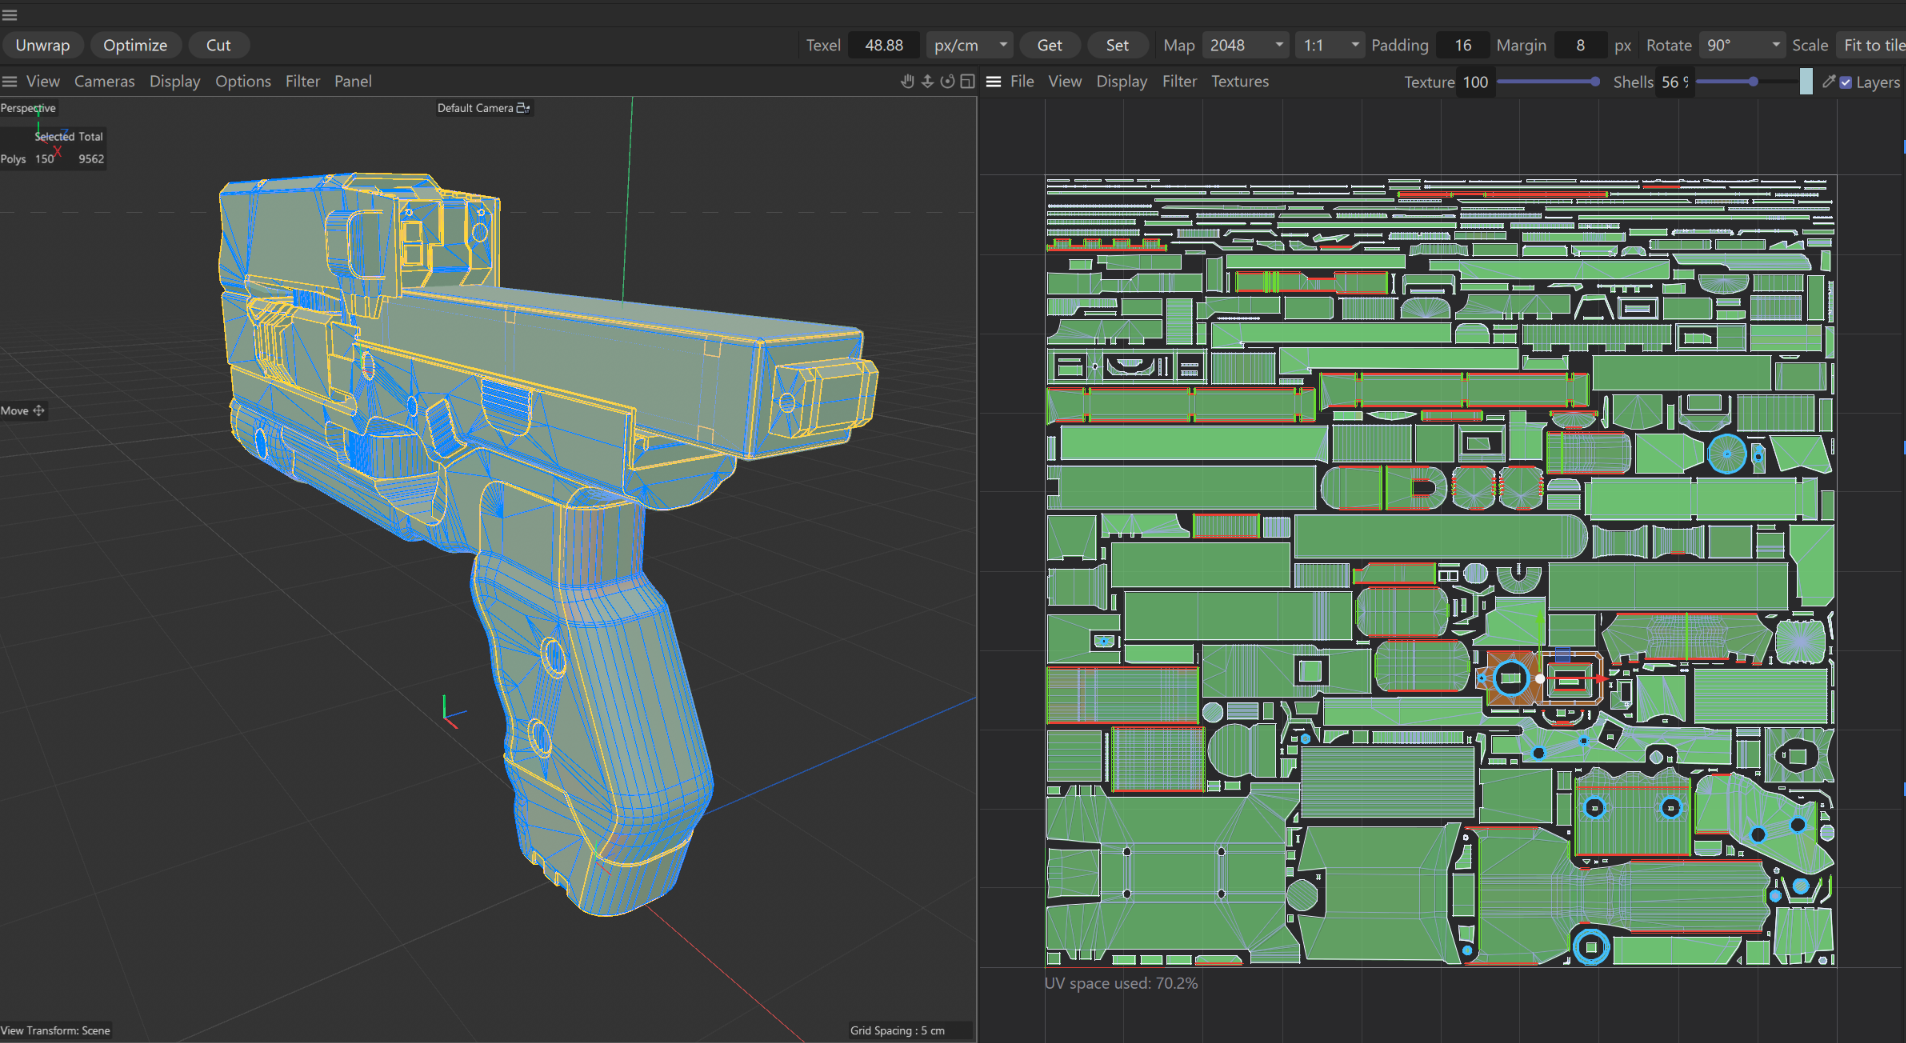
Group Colours